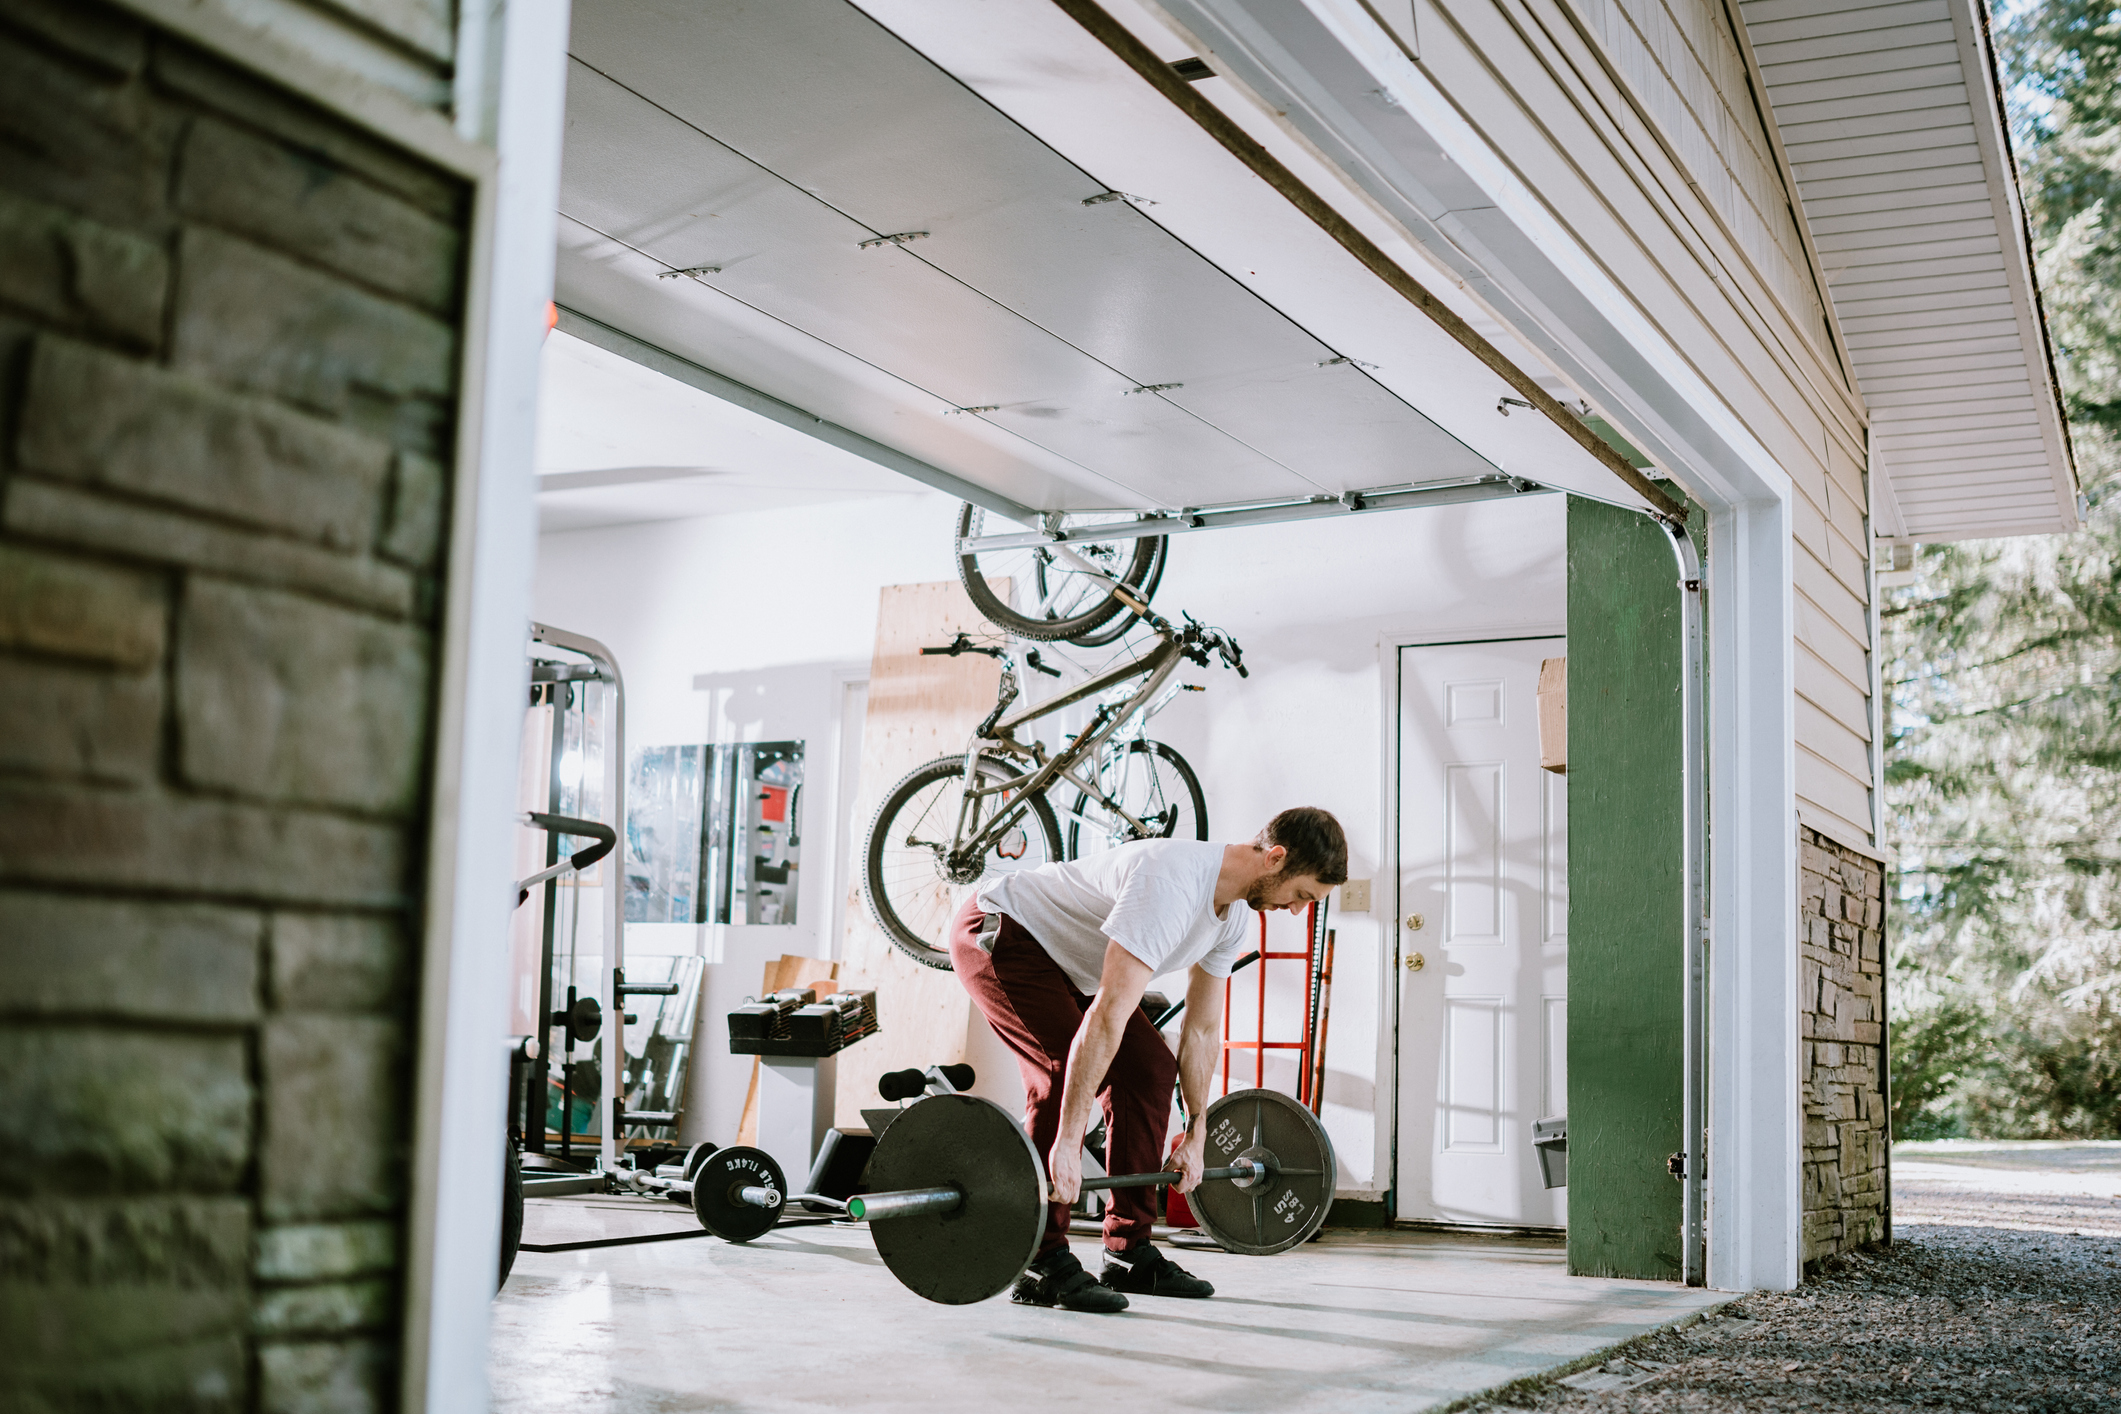
During COVID, working out at home became a necessity. We did yoga in the loungeroom, jumped rope in the backyard, and smashed Ninja workouts on YouTube. We got imaginative because we didn’t have a choice.
Now, as we’re back to normal (relatively), we can all return to group classes and public gyms. But, despite being able to reactivate our memberships, many people are choosing to continue to exercise at home. And why not? There are many benefits, including convenience, time, and privacy.
Benefits of working out at home:
Convenience: You roll out of bed and hit the weights without having to muster up the energy to get in your car and drive.
Financial: Gym memberships are expensive. Working out at home saves you thousands of dollars every year.
Time: Time is a commodity. Quick lunch workout? You’ll be done in 30. We all could use more time, and exercising in your own space will save you a lot.
Privacy: Some people love the camaraderie of working out with others, but others prefer privacy.
As many benefits there are to work outing at home, there are also downfalls, and space is one of them. If you want to lift weights, where do you store them? What about your exercise bike? Will it annoy the family in the lounge room? And forget about a bench press! You need a designated space to work out.
Our clients are installing garage gyms with the help of epoxy flooring. Epoxy will convert any garage into a full-fledged gym that even your mates will want to train in.
Here, we go through the benefits of epoxy floors and give you some installation tips.
Benefits of epoxy flooring in garage gyms
Epoxy floors will motivate you to workout
Some like the grunginess of basement boxing and industrial garages – perhaps because they emulate Fight Club (we love that movie!). But we find most people are more motivated by clean environments. Epoxy flooring will instantly lift the look of your garage by creating a smooth, shiny finish, which looks way more appealing than grotty oil-stained cement. You can even colourise epoxy to complement your equipment and add line marking to zone exercise areas.
Epoxy floors are durable and resilient against impact
If you’re planning on decking out your garage gym with heavy equipment, you’ll need a epoxy concrete floor that will stand up to serious impact. Unfortunately, the concrete floor will likely crack and chip with jerking movement, which will be costly to repair and won’t bode well for your safety (nobody wants to risk doing aerobics on a chipped floor). Epoxy floors protect concrete by coating it with epoxy resin, which hardens and seals. It’s also oil and chemical resistant, so if you can park your car in your garage, you won’t need to worry about oil stains!
Epoxy is easy to clean and maintain
Epoxy flooring is a popular gym option because it’s easy to clean and maintain. Epoxy is non-porous, unlike concrete, which doesn’t absorb spills. So when you do spill your favourite workout drink, you can just wipe it up! How do you thoroughly clean? A quick vacuum and mop will make your gym sparkling again. And the cleaner your gym, the more inspired you will be to work out. We give you more tips for maintaining epoxy floor here.
How do you install epoxy flooring?
1. Prepare concrete
The success of your epoxy flooring has a lot to do with how well you prepare. First, you need to clean and degrease the concrete and chip away any protruding bits to ensure the epoxy will stick to the concrete and leave a smooth finish.
Scrape protruding cement: Scrape hard cement with a shovel and scrub with a hard brush to smooth the floor.
Pressure clean: You will need to concrete clean the floor with a pressure hose or clean it with a power scrubber.
Acid wash: Once you have cleaned the floor, we recommend scrubbing with hydraulic acid. Rinse with hose. Don’t forget your safety gear!
2. Apply primer
Tape up the edges of the floor to protect the wall. Before you get into the epoxy, you must ensure it bonds with the concrete. This is where primer comes in. Follow the instructions on your primer.
3. Roll on epoxy paint
Next, mix the epoxy depending on the instructions. You can then apply the epoxy with a paint roller. Again, refer to the instructions for your epoxy.
4. Apply flakes if desired
If you’re after flake flooring, you can sprinkle flakes on the surface as you paint the epoxy on the cement. We recommend sprinkling the flakes once you have painted 1m2 of the floor.
5. Non-slip flooring
If you want non-slip flooring, which may be a good idea if you will be jumping around in your gym, now is the time. Apply the second coat like you did the first.
DIY epoxy flooring can be labour-intensive and take a few days to complete. We recommend hiring a professional to ensure your epoxy is applied correctly and will last as long as possible.
Chat with Kleenit about epoxy for your gym. Get in touch.


